How to install the hammer blade?
How to replace the hammer blade?

The replacement of hammer blades in the hammer crusher requires strict installation according to the requirements, otherwise the hammer blades will interfere with each other during use. Taking the crusher with 16 hammer blades as an example, we will introduce the installation method in detail:

The specific steps for replacing the hammer blade are as follows:
Step 1: After stopping the device, turn off the power.
Step 2: Open the end caps of the turntable and rotor head, remove the key pins of the rotor and motor, and pull out the entire turntable. As shown in the following figure. In rare cases, it may be impossible to remove the key pin or even after the key pin is removed, it is still difficult to remove the entire turntable. In this case, the tool "three claw puller" is needed to remove the turntable.
Step 3: After removing the turntable, we can see that there is a small hole in the middle of one end of the shaft, which is clamped by a bent pin to prevent the pin from falling out after moving left and right. Use pliers to straighten the two bent feet of the pin again, and then withdraw the pin from the hole. Alternatively, simply use pliers to cut the plug short and remove it.
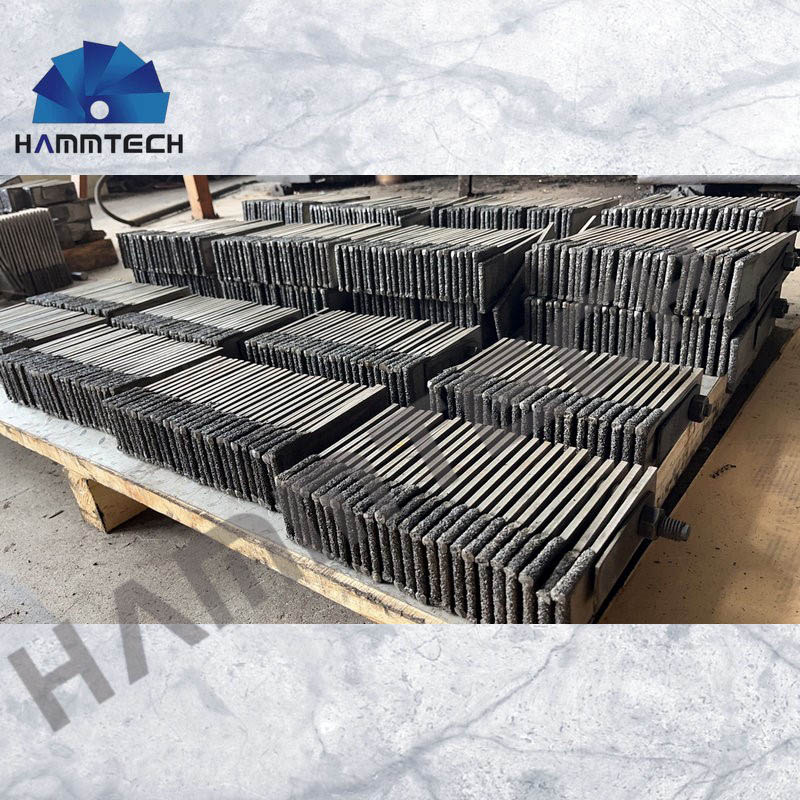
Step 4: As shown in the following figure. We can see that each axis is equipped with 4 hammer pieces, and the hammer pieces on adjacent axes are staggered. How should we stagger the hammer blades? We can see that in addition to hammer blades, there are also positioning sleeves worn on the shaft. There are two types of positioning sleeves, one is long and the other is short. There is usually only one short one, and it is through this short one that the hammer is misaligned. The installation sequence of the positioning sleeve and hammer plate on the first shaft is as follows: short positioning sleeve hammer plate long positioning sleeve hammer plate long positioning sleeve hammer plate long positioning sleeve hammer plate long positioning sleeve. The installation sequence of the positioning sleeve and hammer plate on the second shaft is as follows: long positioning sleeve hammer plate long positioning sleeve hammer plate long positioning sleeve hammer plate long positioning sleeve hammer plate long positioning sleeve hammer plate short positioning sleeve. Install each shaft in this order.
Step 5: After installing the positioning sleeve and hammer plate on all axes, carefully check whether the hammer plates of adjacent axes have been misaligned and there is no possibility of collision during operation. After there are no issues, insert a new pin into the end of the shaft with a pin hole and bend both legs of the pin.
Step 6: Install the turntable into the crushing chamber, align the rotating shaft sleeve, drive the key pin in, and lock the end cover. The installation or replacement of the hammer blade is complete.
During the entire installation or replacement process, special attention should be paid to the misalignment of the hammer blade and the bending of the pin. Prevent the rotor from falling off during rotation, damaging the screen and turntable, and causing unnecessary economic losses.
Post time: Feb-28-2025